1) Navigate to the Add New Account screen.
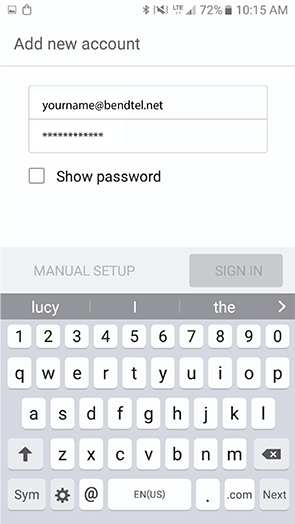
A screen like the one below can be accessed from your Email App or via your Settings. (Exact steps vary from phone to phone.)

2) Enter your email address & password.
Enter your credentials & tap Sign In or Next.

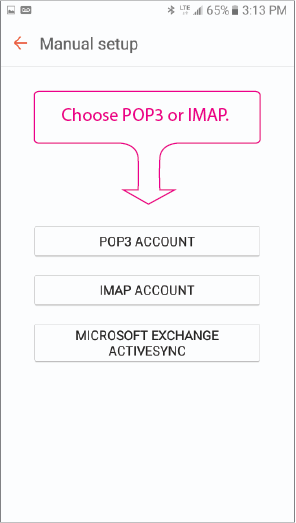
3) Choose between POP3 or IMAP.
Note that POP3 downloads your emails from the server & stores them on your phone, while IMAP stores your emails on the server.

You will need to replace the auto-populated Incoming Server name.
| Settings for POP3 | |
| Incoming Server | mail.bendtel.net |
| Security Type | TLS (Accept All Certificates) |
| Port | 110 |
| Settings for IMAP | |
| Incoming Server | mail.bendtel.net |
| Security Type | TLS (Accept All Certificates) |
| Port | 143 |
You will need to replace the auto-populated Outgoing Server name.
| Settings for POP3 | |
| Outgoing Server | mail2.bendtel.net |
| Security Type | TLS (Accept All Certificates) |
| Port | 587 |
| Settings for IMAP | |
| Outgoing Server | mail2.bendtel.net |
| Security Type | TLS (Accept All Certificates) |
| Port | 587 |
6) Check the Require Authentication box…
Verify Username is your full email address & your Password is correct. Tap Sign In.

7) Tap Sign In again…
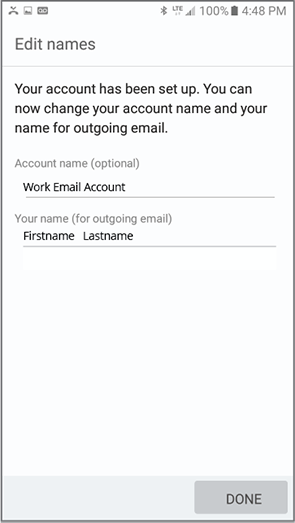
Name your account and enter the name you want to display on outgoing messages.

8) Tap Done.
